Customer story: Learning platform LearnWorlds improved blog speed with Tinify’s API
“By having a lossless solution to optimize the images, we are usually reducing the image load of articles to under 1 MB, improving the speed and the Web Vitals”.
Nick Malekos, SEO Manager at LearnWorlds
LearnWorlds is an online learning platform and learning management system (LMS) that enables individuals, businesses, and organizations to create and deliver courses, training materials, and educational content to learners. It is designed to facilitate the creation of engaging and interactive online courses with various multimedia elements such as videos, quizzes, discussions, and assignments.
Their website is filled with resources, templates, and articles to help users elevate their online courses. With this, one of their main concerns was to make sure that the number of images uploaded to illustrate their content did not translate into slow-loading pages. To overcome this challenge, their web development team recommended Tinify as a top solution for compressing images automatically on their blog. In this case study, we delve into LearnWorlds’ experience with Tinify’s service and the benefits they gained.

Background
Before using Tinify, LearnWorlds employed various online free tools to optimize images on their blog, including converting them to WebP format or resizing them. According to Nick Malekos, SEO Manager at LearnWorlds, this was necessary when dealing with high-resolution images received from their design department:

“In many cases, we are getting very high-resolution images from our design department to upload to the blog. This would mean articles with >3 MB of images if we were to use those.”
Nick Malekos, SEO Manager at LearnWorlds
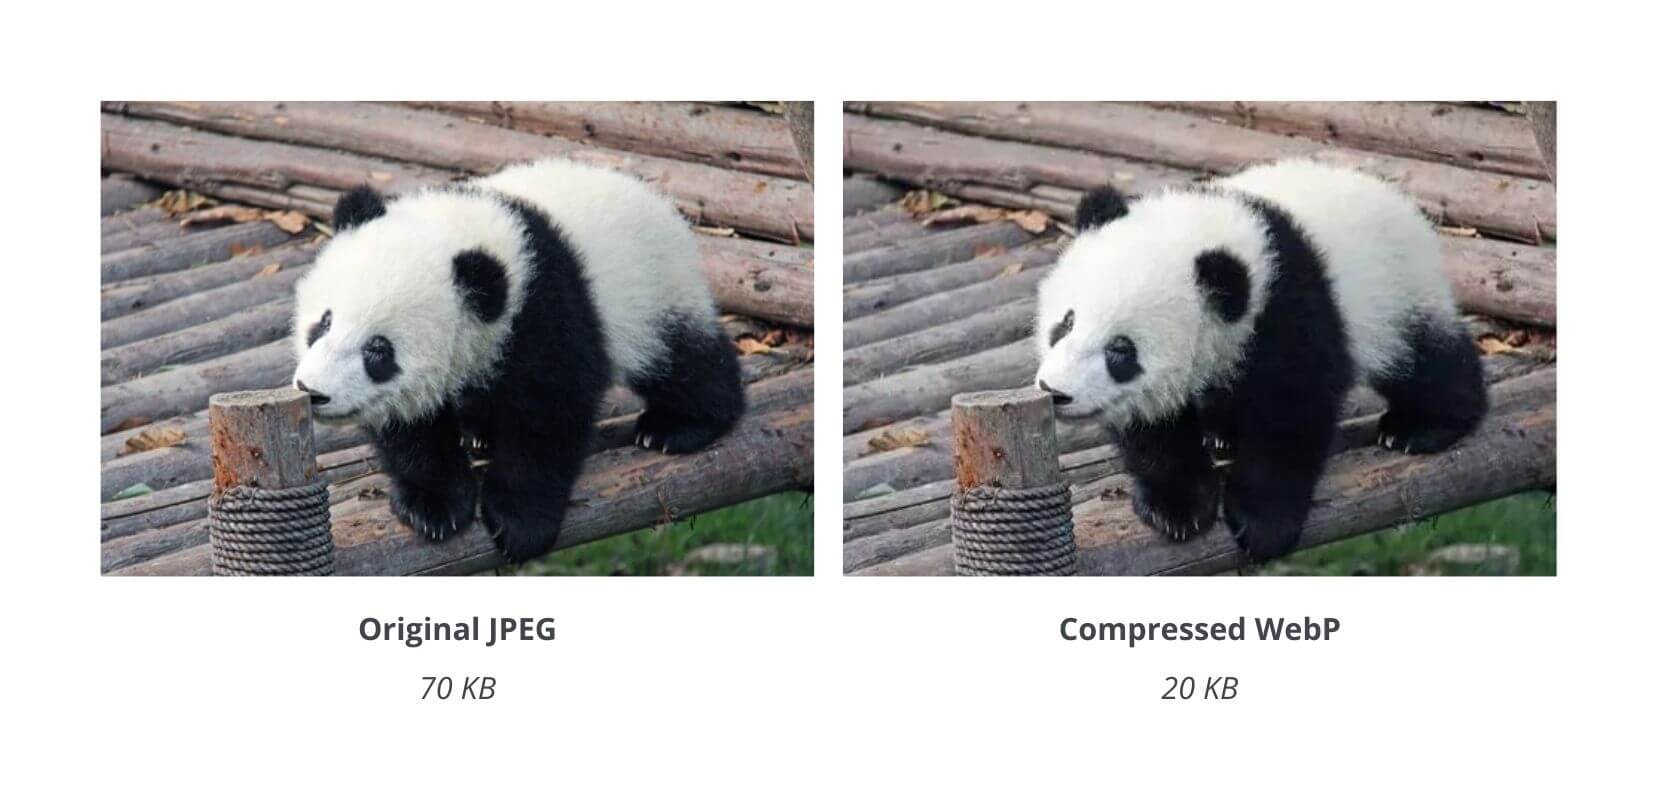
Resizing images to fit the specific dimensions of a blog is one of the first steps to decrease their file size and cut on loading time. Next to this, adopting next-gen image formats such as WebP is a new way to make images smaller to speed up websites.
Unfortunately, free online solutions often resulted in quality issues and did not yield the desired performance improvements, says Nick. At the same time, optimizing images with no automation tools can become time-consuming, especially for a company like LearnWorlds that uploads several informative articles for their users.
LearnWorlds discovers Tinify
In their quest for an improved solution, the LearnWorlds’ web development team came across Tinify’s API Developer subscription as a way to automate image compression for their blog. Nick explains that this shift was a “big hands-off improvement” and adds:
“By having a lossless solution to optimize the images, we are usually reducing the image load of articles to under 1 MB, improving the speed and the Web Vitals”.
Nick Malekos, SEO Manager at LearnWorlds
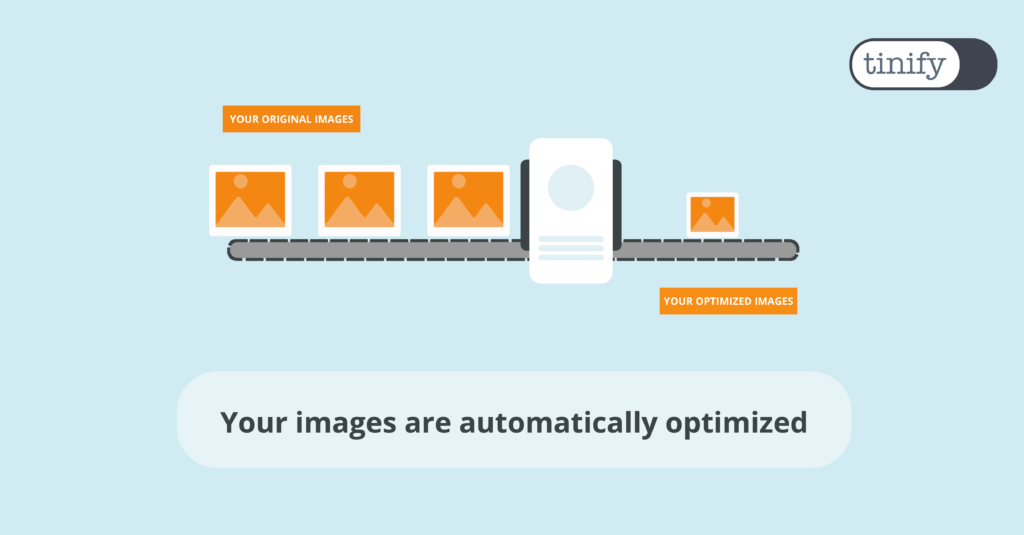
Once they subscribed to Tinify’s API Developer plan, LearnWorlds automated the optimization of blog images, streamlining the process and enhancing web performance and Google Web Vitals, a set of metrics that measures the likelihood of a great user experience.
From an internal perspective, this allowed their team to spend less time tweaking the file size of their images. Compared to the free image optimization tools they used previously, Tinify provided a significant improvement in image quality and overall performance. LearnWorlds found Tinify to be highly user-friendly. Their developers seamlessly integrated the service into their workflow, making it an effortless and efficient solution for optimizing images on their platform. Furthermore, with a monthly usage ranging from 500 to 1000 image compressions, Tinify’s service proved to be a cost-effective addition.
Ultimately, as Nick mentioned, it improved their blog’s SEO by compressing images, reducing their size, and thereby contributing to faster loading speeds which helps LearnWorld rank higher on search engines.
Conclusion
LearnWorlds faced a challenge when dealing with high-resolution images received from their design department. Without proper optimization, these images would have led to articles with over 3 MB in image load. By utilizing Tinify’s lossless compression, LearnWorlds reduced the image load of articles to under 1 MB, significantly improving website speed and overall Web Vitals. The seamless integration and user-friendliness of Tinify’s API service made it the ideal choice for the LearnWorlds’ web development team in ways that free online tools couldn’t make it.
Do you want to improve the load times of your company’s blog? Read more about Tinify’s API Developer here.


