Recent feature Tinify CDN: Purging single files now made easy
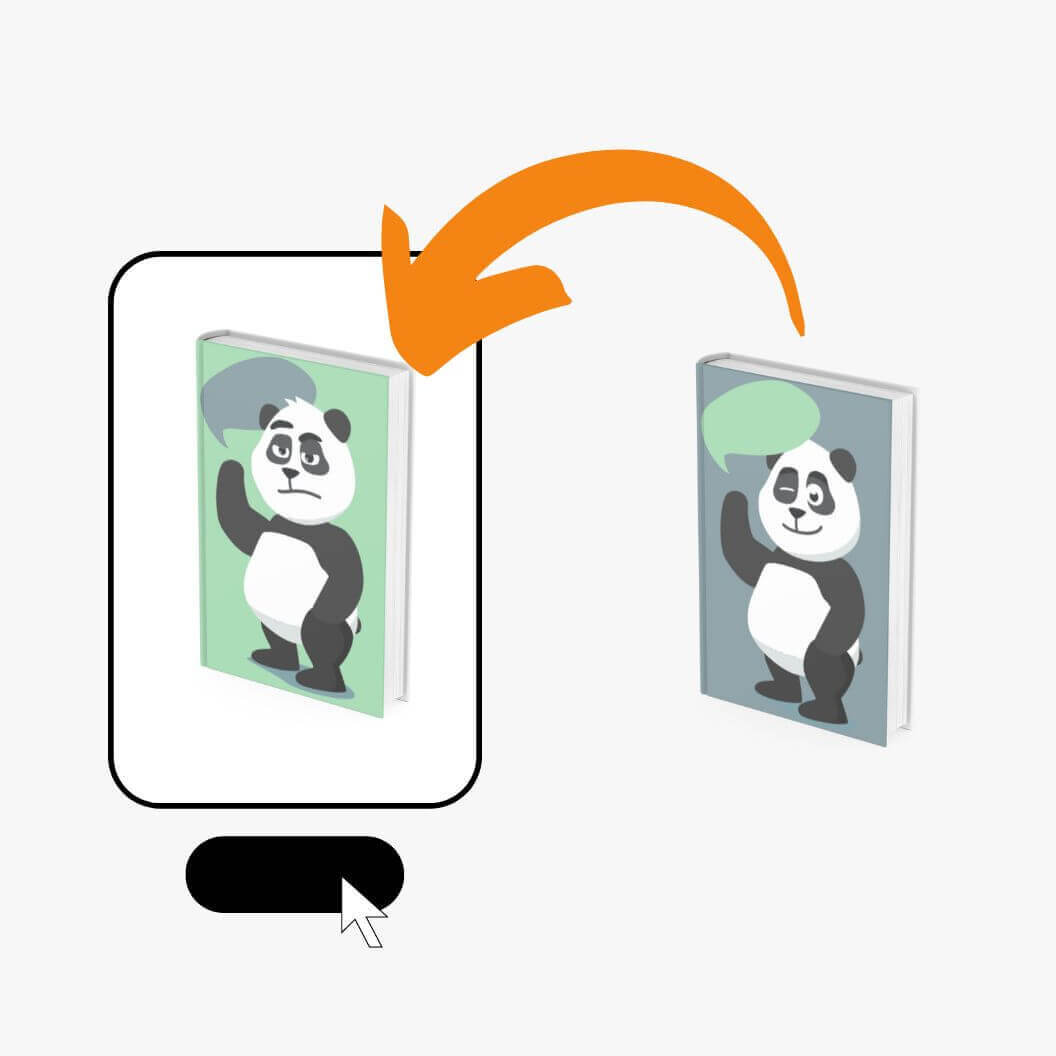
Imagine you own an online bookshop that uses Tinify CDN and you want to change the cover of one of the books available for selling. How do you go about it? With Tinify’s new feature of purging single files, the answer to this is simpler than ever: all you have to do is to learn how to custom purge specific files on your dashboard. This is an add-on to the already-available option of purging everything.
What is cache purging?
Quick recap: CDN makes your website load faster because it stores content in servers geographically closer to users. Once your website is replicated from the origin server to other servers, your content is “cached” – that is, the servers store it so the next visitor in the area can quickly load your website.
Since most websites are made of static content, website owners benefit from having a CDN. However, once the website is cached, it will be shown to the user as it was last stored (for more information on caching, read here). This means that if you change any images – such as the cover of a book in an online bookstore – you have to delete your cache so the CDN can “pull” the newest content and make it available to users.
Before, the only way to achieve this was to purge all content. But now, you have the option to update your images on the spot with our custom purge option on Tinify’s dashboard.
Why is purging single files important?
If you’re developing a site, you want to be able to update your images, as well as changes to CSS and JavaScript files. Whereas before these single changes meant you’d have to reference new files, now you can simply purge them.
Purging single files is the way to go when you want to remove cached content, for example when you have refreshed certain files or have accidentally published a file that should not be public.
To remove and update the old content, you need to go to your Tinify dashboard. From there, follow the instructions here.
To make sure that your changes have been successful, you can compare side by side your original defined path and Tinify’s endpoint (e.g. “https://origin_url/path.jpg” and “https://xxxxx.tinifycdn.com/path.jpg”). If these look the same, then your users are able to see the updated content.
Isn’t it just easier to purge everything?
This new feature avoids the need to update all the content you have on your website. For example, if you’re the owner of a webshop with thousands of pictures, it’s a waste to purge everything because it will only increase traffic costs, as all the content needs to be “pulled” again from the original server to other servers. From the users’ perspective, this isn’t beneficial either, since once you update all the content, the loading time to access your website will increase, as it has to be replicated and stored again on a server closest to them.
Want more information about purging single files? We’ve updated all the documentation with simple explanations and instructions here.
TL;DR
- Tinify CDN now gives you the option to purge single files. This means that instead of removing and updating all your content, you can now select singles files and update them through your Tinify dashboard.
- This is the perfect solution when you want to change specific images, CSS and JavaScript files, or when you accidentally publish a file that should not be made public.
- You still have the option to purge all your content if needed – however, for small changes, this isn’t recommended as it will increase traffic costs.
For more information on purging single files, head over to our Tinify CDN documentation page.