Looking for an image size reducer? Learn 5 techniques to better optimize large images beyond compression

“Make PNG smaller”, “how to compress JPEG to 50KB”, and “image size reducer” are a few of the things users type to find a way to compress large images into small ones. However, there is more that users can do than compress their images. While this is key – after all, that’s what Tinify is about! – there are other ways to make sure your images are the smallest size possible.
Large images can slow down your website, which may lead to a negative user experience and even lower search engine rankings. While this may sound obvious, it is common for new bloggers and inexperienced website users to overlook this. The excitement of seeing our little corner of the internet come to life can make us blind to more technical points – like whether our website is taking two seconds more to load than what is recommended.
So, if your website visitors are first presented with a loading symbol before accessing your content, keep on reading!
Let’s go over some tips and techniques for optimizing large image files to ensure that your website stays fast – including using an image size reducer:
- Use the right image format
- Use the right image dimensions
- Compress your images with Tinify’s image size reducer tool
- Convert your images to WebP
- Use lazy loading and image caching
“Panda promise” that this will work!
Use the right image format
The first step in optimizing large image files is to choose the right image format. The reason for this is that image formats make a big difference in terms of file size. For example, PNGs end up being larger in size than JPEGs. That’s why JPEG, the most common image format, is the best choice for photographs, while PNG should be used for web graphics, logos, charts, and illustrations, particularly because it handles transparent backgrounds.
Knowing these differences will help you save your images in the right format, which will ensure your website isn’t populated with image formats that are larger than necessary.
Use the right image dimensions: resize and crop images
Another factor that can affect the size of an image file is its dimensions. It’s usual for new website owners to overlook the size of their images, but with this, they might end up uploading too many large images.
Since most websites only display images at a specific size, find out the recommended sizes and resize your images according to them. For example, if you want to upload a header image to WordPress, your image doesn’t need to be larger than 1048×250 pixels. In the end, resizing decreases the file size even further, which will make your website load faster.
You can resize and crop your images with built-in software on your computer. For Windows users, you can check this link for instructions on how to resize images using Paint. For macOS users, you can use Preview – learn how to here.
If you’re a technical user, you can sign-up for Tinify’s Developer API, which gives you the chance to resize your images within your code, as well as smart cropping options.
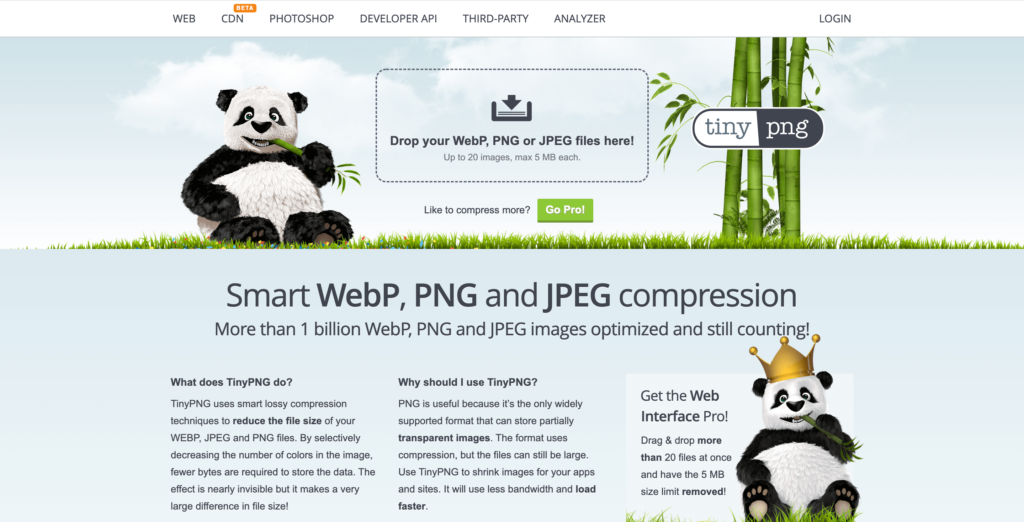
Use an image size reducer: Compress your images with Tinify
Another effective way to optimize large image files is to compress them. Image size reducer tools compress the file size of an image by removing unnecessary data and reducing the number of colors. Compression tools are quite effective at reducing the size of large images without any noticeable loss in quality.
According to the e-commerce platform Shopify, a good rule of thumb is to keep your image file size below 70KB. This can be difficult to achieve with large images, and that is why they recommend using image size reducer tools, like Tinify.
While some compression tools give you the chance to choose the level of compression, Tinify’s algorithm is designed to optimize images to their fullest extent at the click of a button. So, when you upload an image to Tinify, we will analyze each image, and based on this, the best optimization level will automatically be determined. There’s so much website owners have to worry about that it’s important for us that they can save time in the process of optimizing their pictures.
If you have a website, you can use Tinify’s analyzer to discover how much loading time you’ll save by compressing your images.
To compress them, you can drop them directly to Tinify’s homepage and upload the compressed image back to your website. Free users have a limit of 5MB per image, but if you find yourself stuck with larger images, you can take advantage of our Web Pro subscription. For WordPress users and developers, there’s an easier way to compress images. All you have to do is to create a Tinify API account, and all your images will automatically be optimized for free up to 500 compressions.
Convert your images to WebP
Okay, perhaps now your website loads faster than ever – no loading symbol to exhaust your visitors! However, when you add your website to Google’s web analyzer, you realize that more can be done to optimize your images… Like converting them to next-gen image formats. Unlike JPEG and PNG, next-gen image formats were created for web use, which means they’re smaller in size to load faster.
One example of this is WebP, created by Google. It is similar to JPEG and PNG, but it can produce smaller image file sizes while maintaining the same quality. In this way, you can replace your PNG and JPEG images with WebP to cut even more on loading time. The downside is that this image format only works in modern browsers (Chrome, Firefox, Edge, Opera, etc), so you need to have a fallback option for Internet Explorer and older browsers.
You can convert your images to WebP online or with Photoshop, and compress them after with Tinify. If you’re a technical user, you can take a look at Tinify’s API to automatically convert your PNG, JPEG, and WebP images. We hope to make this feature available to browser users later this year.
Use lazy loading and image caching
Once you’ve optimized your images, you can also implement a few things on your website to make them load in the best possible way.
One trick is to implement lazy loading, a technique that delays the loading of images until they are needed. In other words, you can use lazy loading to defer the loading of images until the user scrolls down to the part of the page where they’re displayed. This can improve the initial loading time of the page and reduce the amount of data that needs to be transferred over the network.
To implement lazy loading, you can use a lazy loading plugin or JavaScript libraries, such as LazyLoad, Lozad.js, and unveil.js. You can also use HTML attributes: the loading attribute can be used to specify the loading behavior of images. The attribute can be set to lazy which will only load the image when it comes into view. This is a native browser feature and is supported by most modern browsers. All in all, these tools allow you to specify which images should be lazy-loaded and when they should be loaded.
Lastly, another technique you can implement is image caching. It’s a technique that involves storing copies of images in a cache which stores the image temporarily in a proxy server or a browser cache. Image caching can be useful for reducing the amount of data that needs to be transferred over the network. It can also help to reduce the load on servers, as it reduces the number of requests that need to be handled.
For example, a web browser will typically cache images that are downloaded as part of a webpage, so that they don’t need to be re-downloaded each time the user visits the page – this is one of the reasons why cookies exist. You can use a caching plugin for this, or a CDN (Content Delivery Network) so your images are served to users from a server that is geographically closer to them.
If you’re curious about this, Tinify’s CDN might be for you! Tinify’s CDN caches optimized versions of images, which makes it an “all in one” tool for reducing, compressing and caching your images.
TL;DR
If you’re stuck with large images that slow down your website, remember that using only an image size reducer might not be enough to solve this issue. Here are 5 ways to reduce and optimize large image files:
- Use the right image format: JPEG for photographs and PNG for web graphics, logos, charts, and illustrations.
- Use the right image dimensions: resize and crop images to the appropriate size by checking the appropriate dimensions for your website.
- Compress your images with Tinify: Large images can be compressed by a lot with our image size reducer tool without any noticeable loss in quality.
- Convert your images to WebP, a modern image format that can provide smaller file sizes than JPEG or PNG.
- Use lazy loading to only load images when they are needed, and image caching to store images so they are served faster to your users.