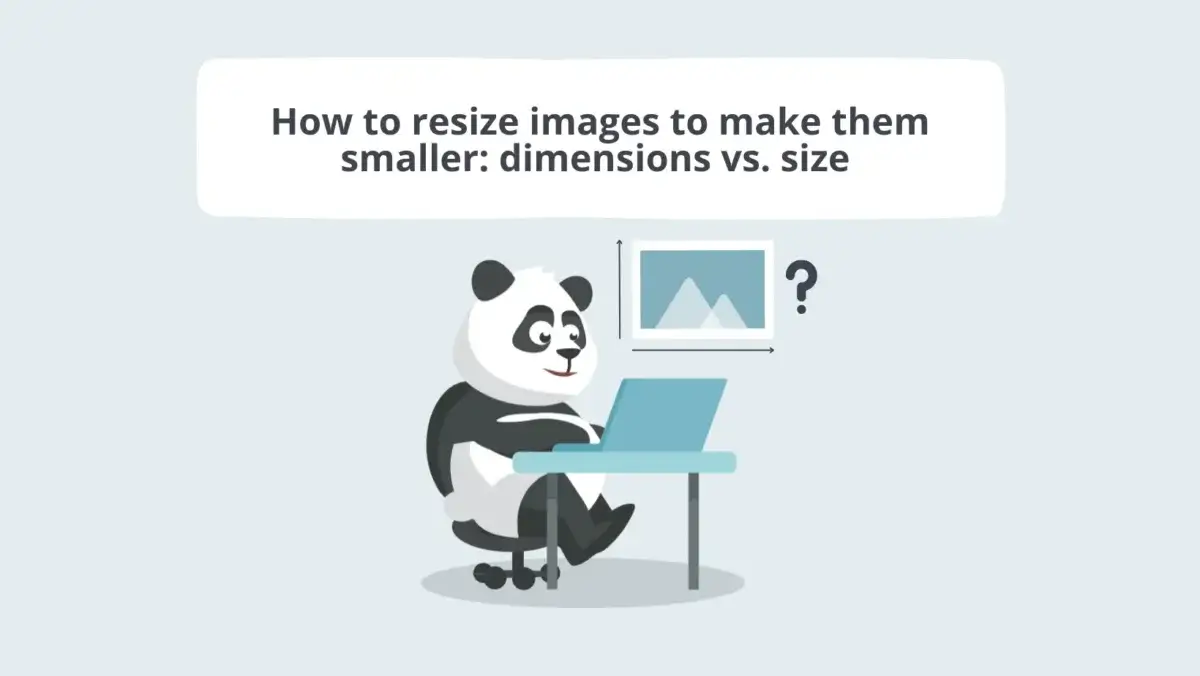
How to resize images to make them smaller for a faster website: dimensions vs. file size
How to resize images? Isn’t it the same as compressing them? We’ve noticed that many of you have questions about reducing the size of your images. We understand that this is especially common among e-commerce users, like those using Shopify. E-commerce stores often have a maximum pixel limit for images, which can cause confusion when compressing images doesn’t solve error messages such as the “Exceeds 20 Megapixels” in Shopify. That’s why we’ve written this blog post to help clarify things for you.
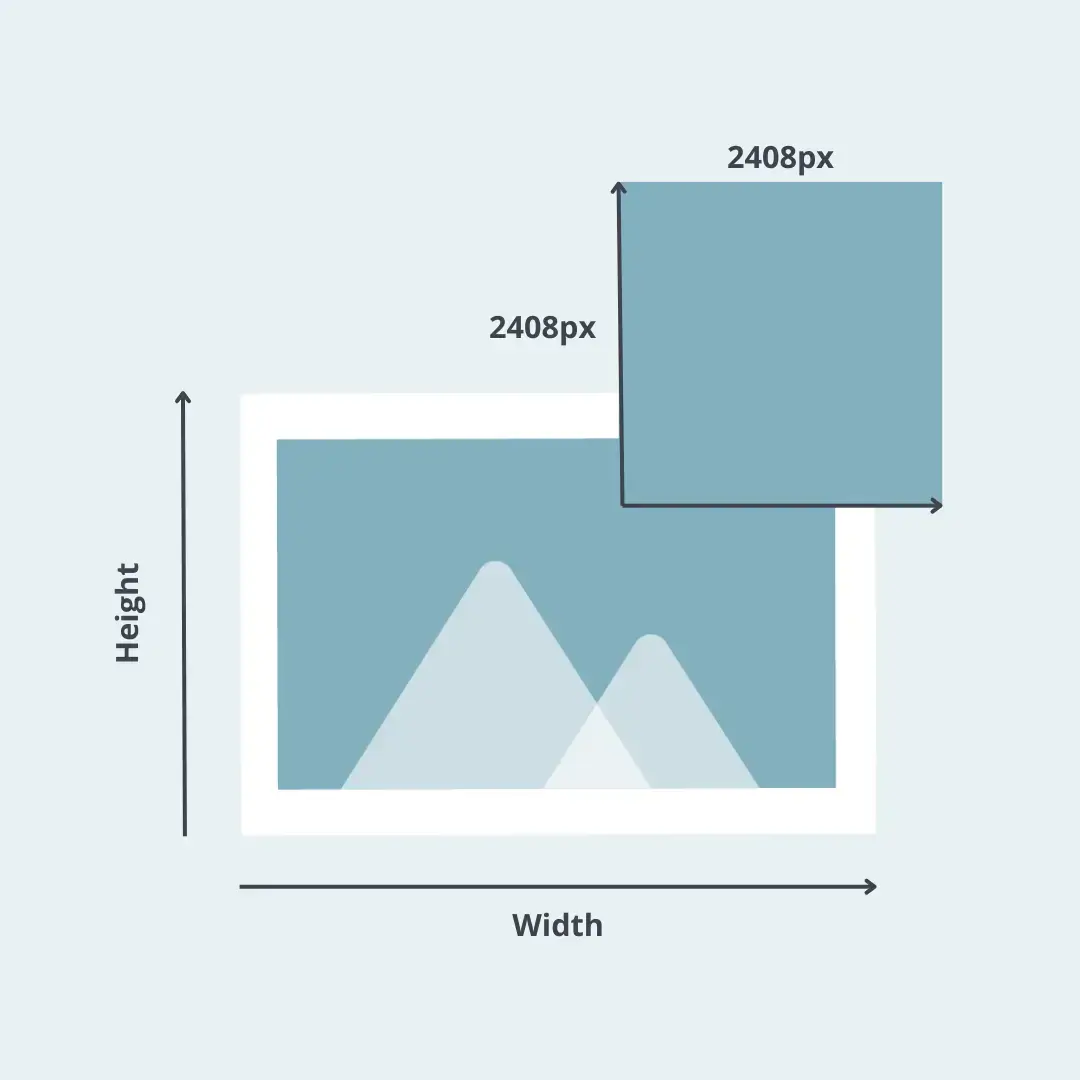
When it comes to optimizing images for the web, there’s a fundamental difference between reducing file size and altering pixel dimensions.
Let’s break it down for you.
Reducing file size, which is what tools like Tinify focus on, means compressing images to save storage space (measured in MB, or megabytes). On the other hand, altering pixel dimensions means changing the actual number of pixels in an image (measured in MP).
In simpler terms, Tinify reduces the file size of images in terms of storage (MB), not in terms of dimensions. It tackles the weight of the image file, not its size in pixels.
If you want your images to have a smaller size in terms of megapixels, you’ll need to resize them before using Tinify. By reducing both the pixel dimensions and the file size, you can significantly enhance the performance of your website.
Now, let’s dive into image resizing and how it can benefit your e-commerce business.
How to resize images: change dimensions
Image resizing refers to adjusting the dimensions of an image (MP), not its file size in terms of storage (MB). While resizing an image impacts its file size, the main objective is to consider the website’s design and enhance user experience. So, if your website doesn’t actually require large images, it’s best to avoid using them. For instance, the best Shopify product image size is 2048 x 2048 pixels. This means that your images don’t need to be larger than these dimensions.
And what happens when you don’t resize your images?
You score low on web performance, particularly in the Largest Contentful Paint (LCP), one of the three Google Core Web Vitals metrics. LCP indicates the time it takes for the most significant element on a web page to fully appear. Usually, this element is an image and that’s why resizing large images is crucial. When images are excessively large, they require more data to be downloaded, resulting in slower page rendering. However, by resizing images appropriately, you can reduce the file size and optimize the delivery of visual content. This, in turn, leads to faster LCP and overall improved website performance.
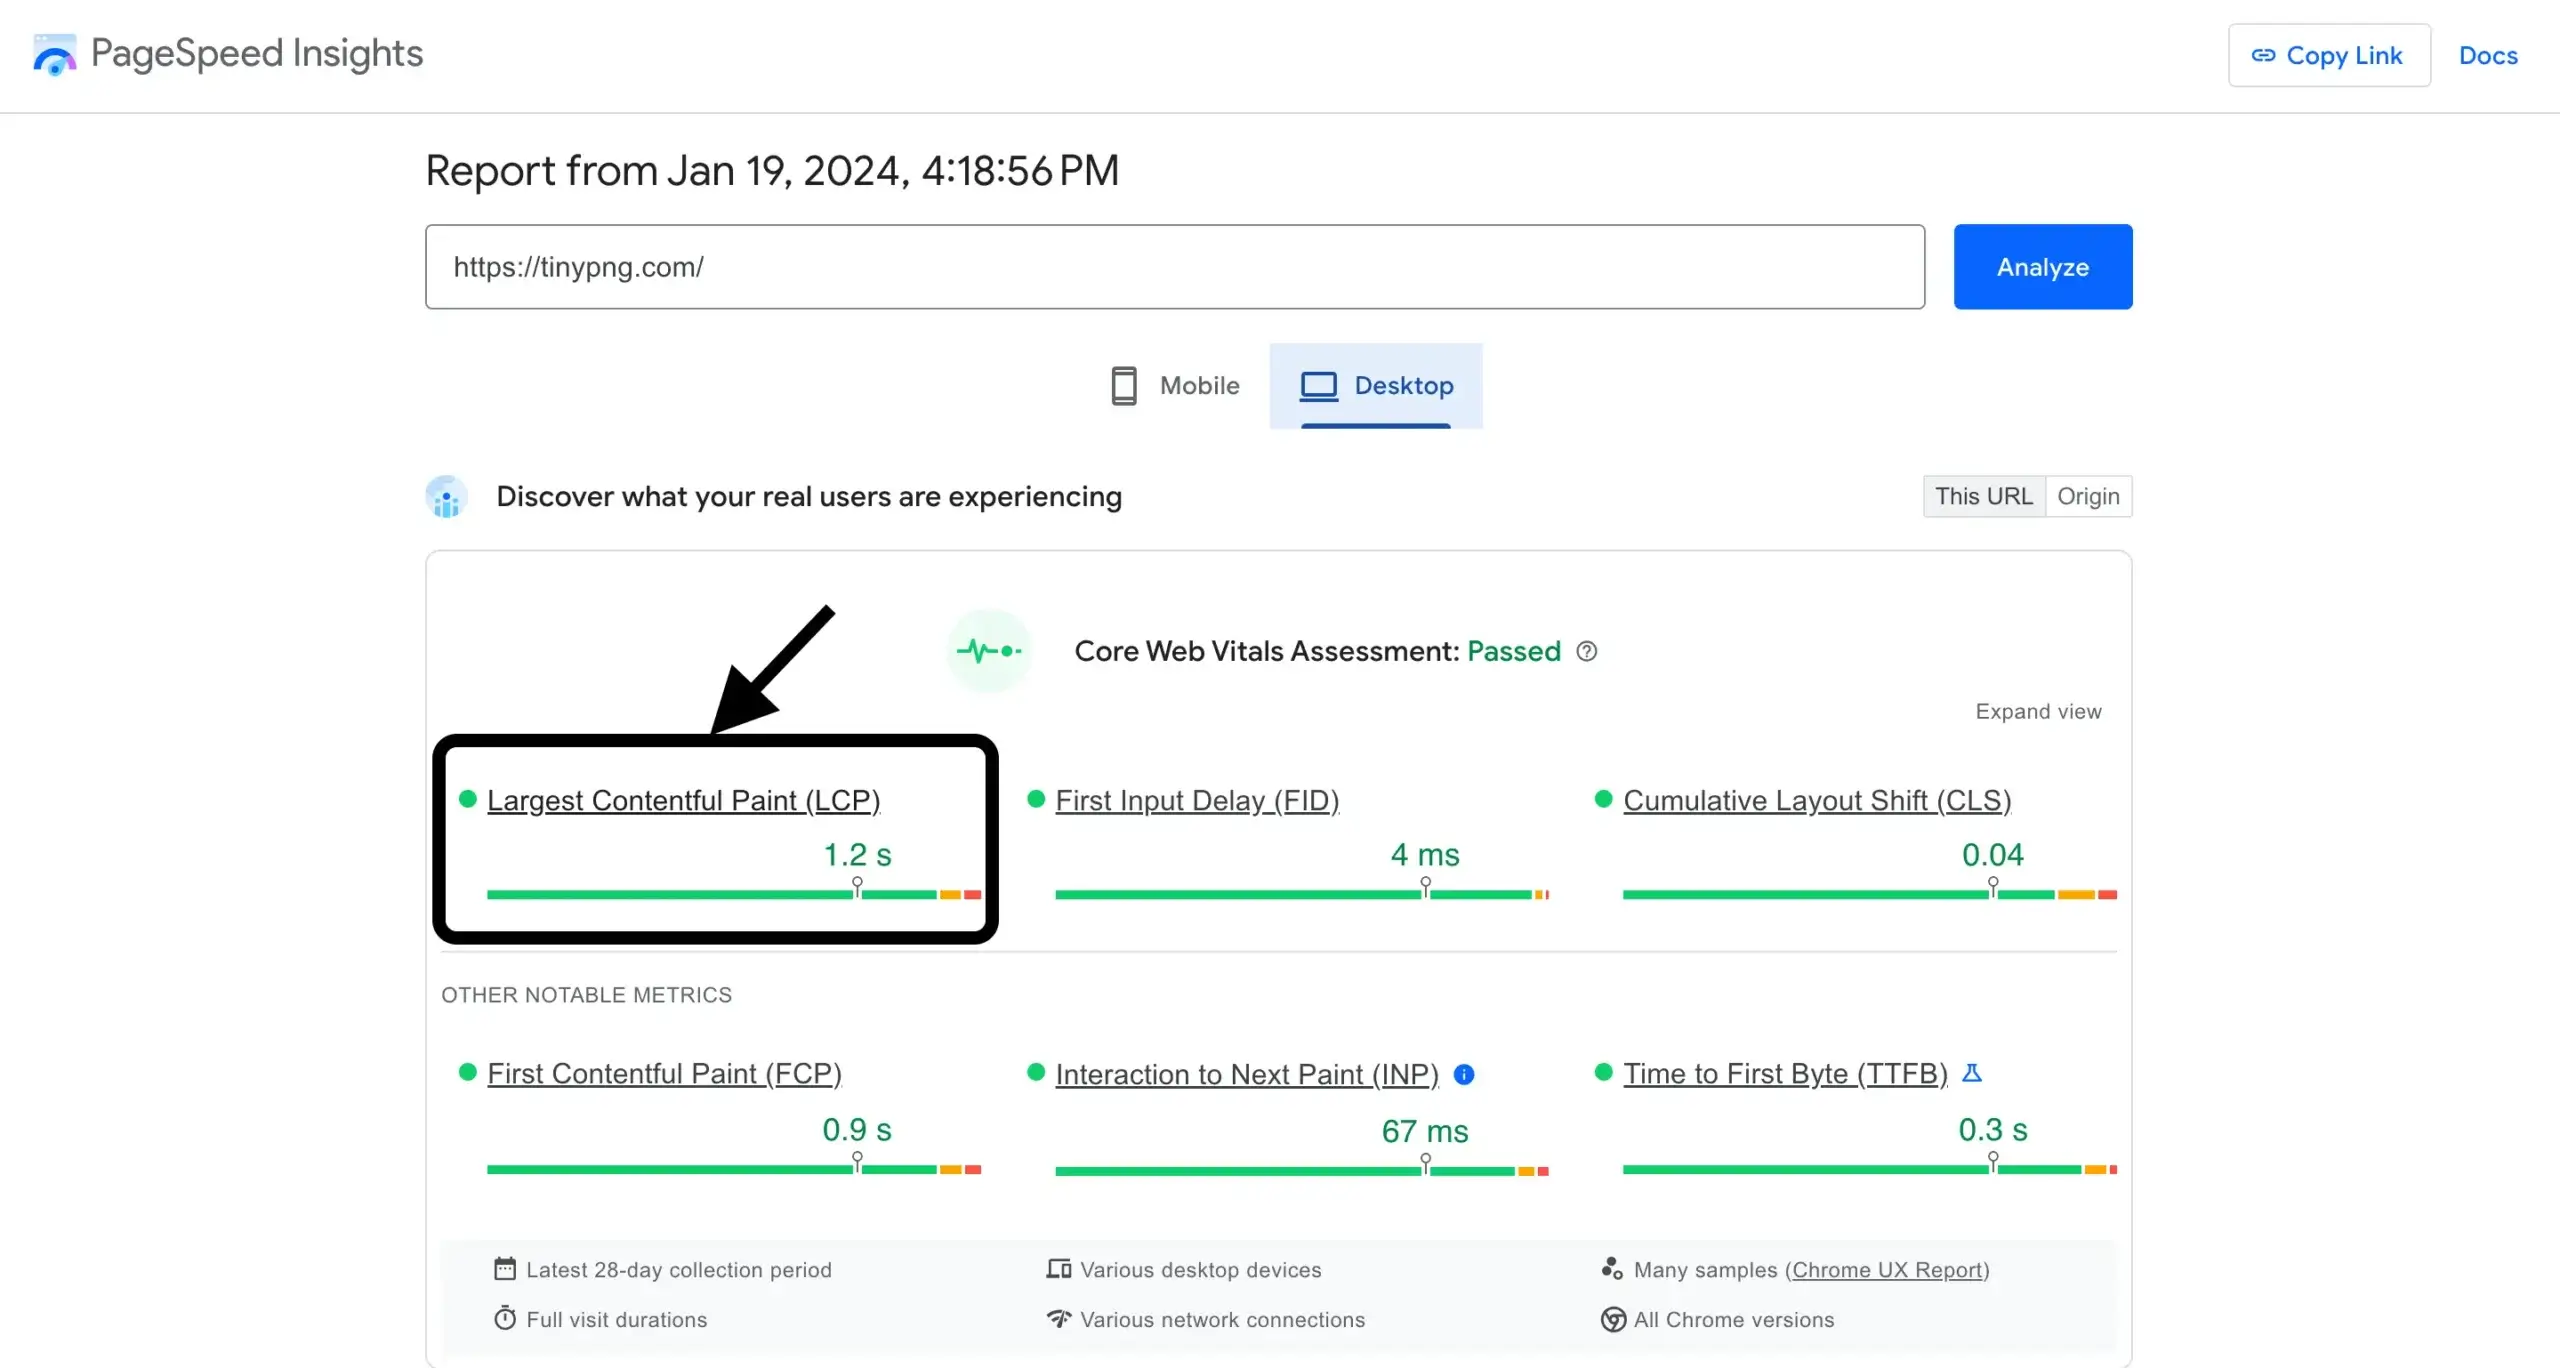
According to Google, the LCP should be below 2.5 seconds (within the green threshold). Screenshot of PageSpeed Insights for tinypng.com.
Benefits of dimension-based image resizing for e-commerce:
- Reduced image file sizes translate to faster load times.
- Smoother browsing experience for visitors.
- Optimized images contribute to better search engine rankings.
- Smaller image sizes potentially reduce storage costs.
Now that we’ve covered the benefits of dimension-based image resizing, let’s talk about how to resize your images.
How to resize images on your laptop
Most operating systems come with built-in image editing tools that can help you resize your images effortlessly. Whether you’re using Windows or macOS, you can use these tools to adjust the dimensions of your images. Here’s a simple guide for both:
For Windows users:
1. Open the image you want to resize using Paint, which is usually pre-installed on your computer.
2. Click on the “Resize” option under the “Home” tab.
3. Enter the desired dimensions or percentage for the image.
4. Save the resized image with a new name or overwrite the original image after making a backup copy.
For macOS users:
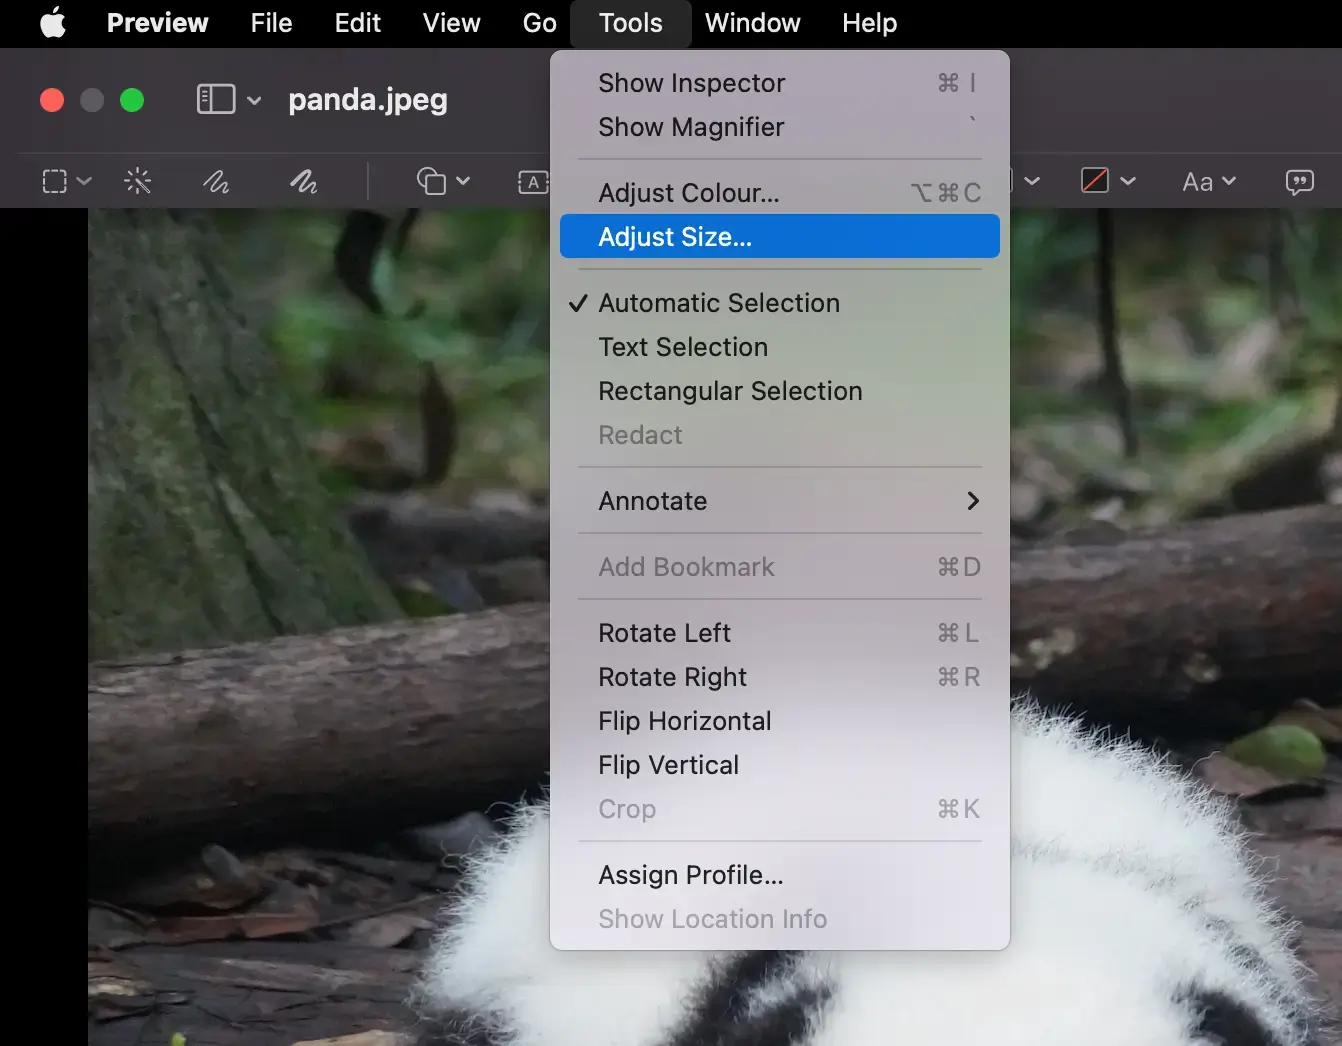
1. Open the image you want to resize using the Preview application, which comes pre-installed on your Mac.
2. Click on the “Tools” tab in the menu bar and select “Adjust Size.”
3. Enter the desired dimensions for the image.
4. Save the resized image with a new name or overwrite the original image after making a backup copy.
Remember to always keep a backup copy of the original image before making any changes. This way, you can revert to the original version if needed.
Now that you understand image resizing, let’s move on to image compression and how it can further optimize your resized images.
How to compress images: maximum size reduction
Once you resize your images, you can further optimize them by using an image compression tool like Tinify. Image compression focuses on reducing the file size of your images (in terms of megabytes) by compressing the data, without altering the dimensions.
Different compression algorithms are used to achieve a reduction in file size while maintaining visual quality. For example, Tinify uses smart lossy compression techniques to reduce the file size of WebP, JPEG, and PNG files. By selectively decreasing the number of colors in the image, fewer bytes are required to store the data. The effect is invisible to the naked eye but it makes a big difference in file size.
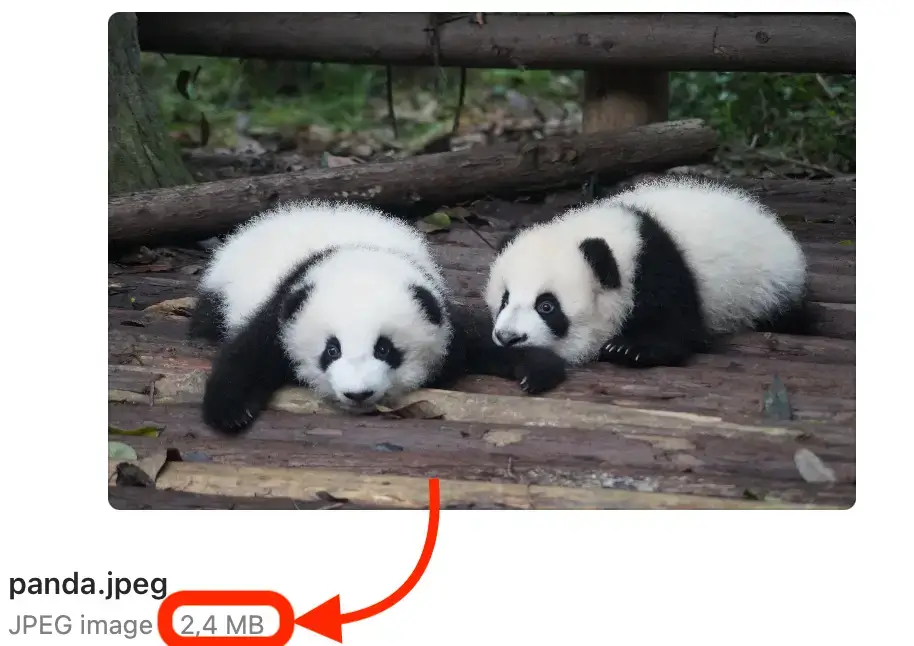
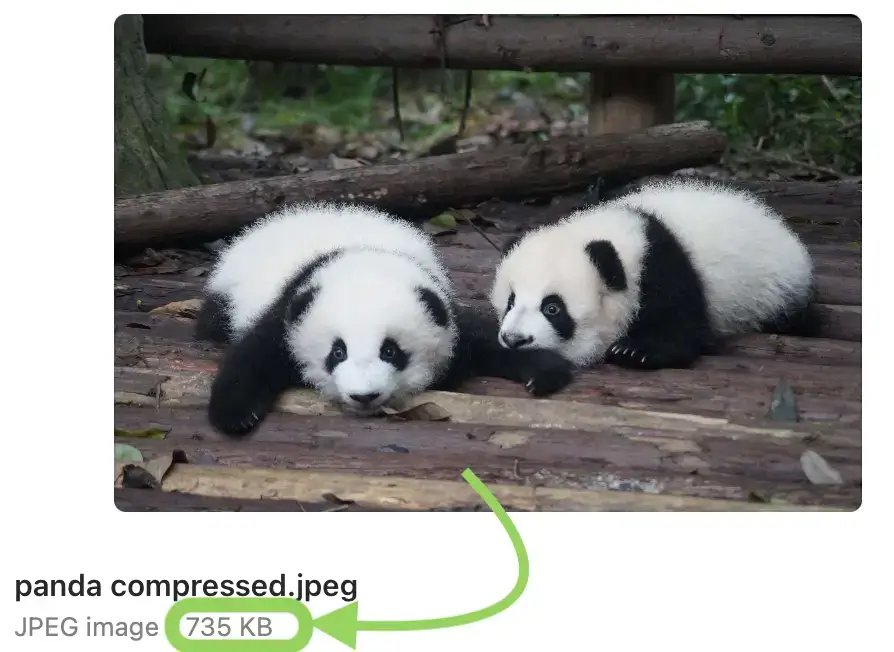
Photo by Pascal Müller on Unsplash
Benefits of image compression for e-commerce:
- Faster loading speeds for improved user experience.
- Enhanced SEO through faster page loading times.
- Mobile optimization for better performance on smartphones.
- Bandwidth conservation, vital for areas with limited connectivity.
- Cost efficiency by reducing storage and bandwidth needs.
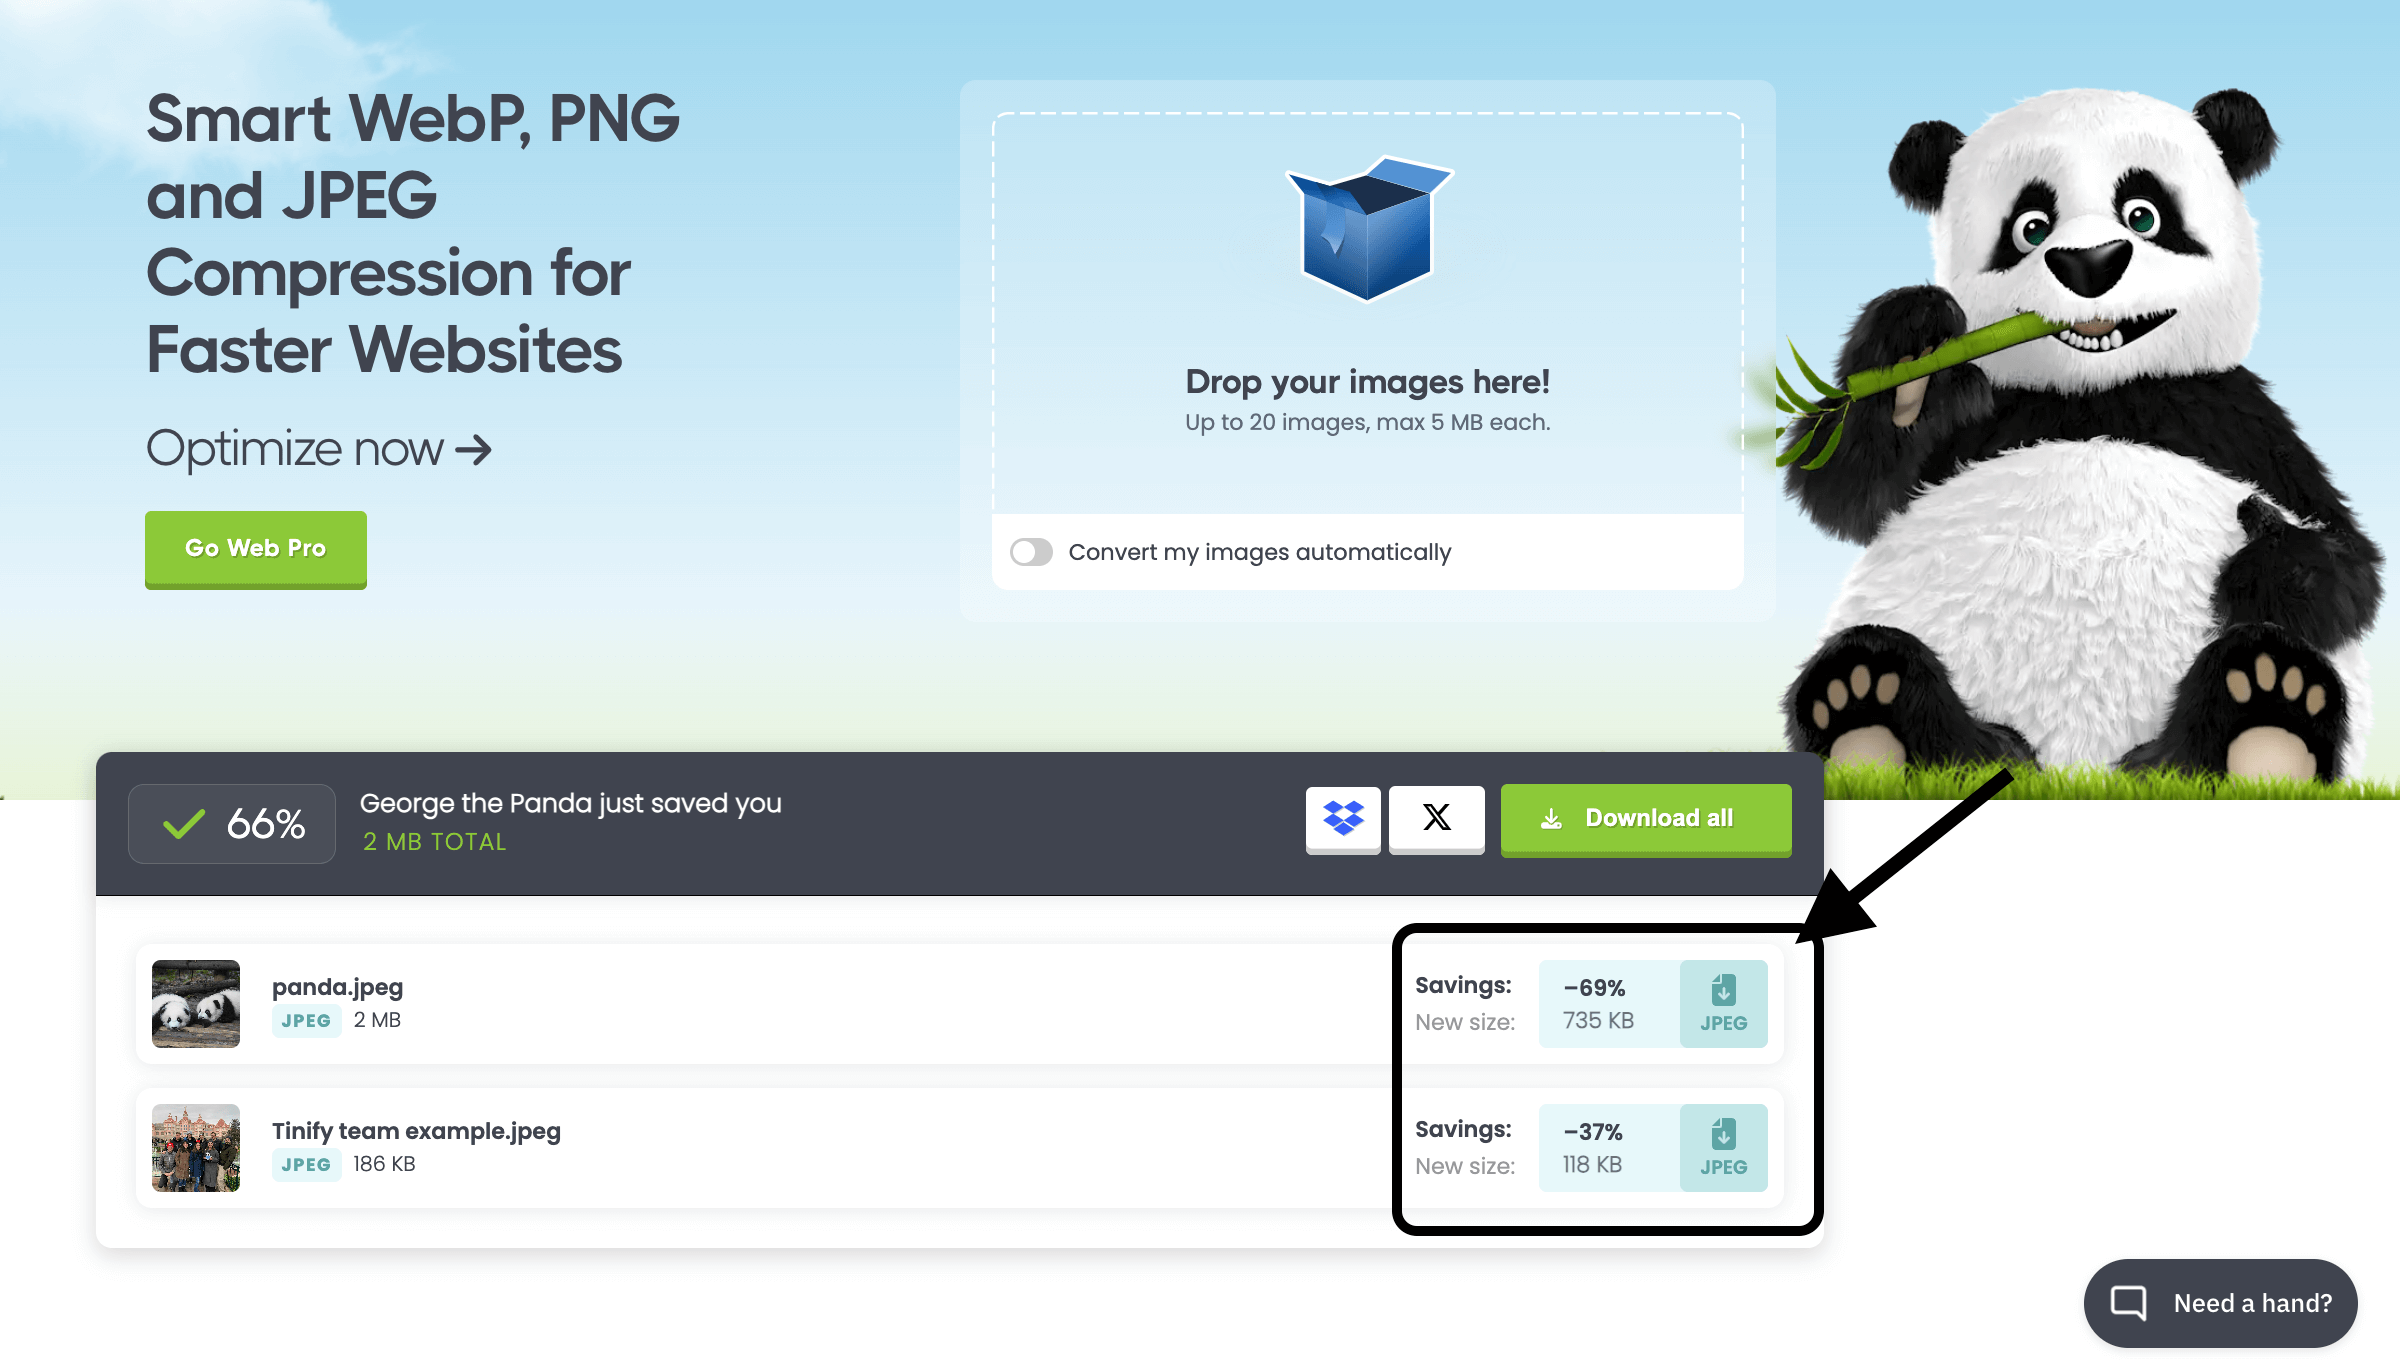
Both original and compressed images have the same dimensions, but the compressed versions are lighter. For instance, the first picture (also shown below) was compressed almost 70% with no loss in quality. Screenshot of tinypng.com
How to compress images using Tinify: online and API
To optimize your resized images with Tinify, visit Tinify’s website or integrate Tinify’s API within your development environment:
- If you prefer a user-friendly web interface, head to Tinify’s website. Drag and drop your images directly to compress them.
- For developers seeking a smooth integration, Tinify offers an image compressor API that can be directly incorporated into your development workflow.
In both instances, Tinify’s advanced compression algorithms will automatically analyze and compress your images while preserving their visual quality.
After using Tinify, replace the original images on your website with the resized and optimized versions. Smaller image file sizes contribute to faster loading speeds, improved user experience, and reduced bandwidth usage. Ultimately, this leads to higher visitor engagement and increased conversion rates.
How to make your images even smaller: convert to WebP
There are some nifty tricks and tips you can implement to make your images even smaller. One way is by using “next-gen” images, which are newer file types designed to render faster on the web. These include formats like WebP, AVIF, HEIF, and JPEG 2000. Among them, WebP has gained popularity due to its wider browser support.
WebP, developed by Google, is an innovative image format that offers the best of both worlds – superior image quality and smaller file sizes compared to JPEG or PNG formats.
Advantages of using WebP
- Reduced file size: WebP images can be up to 34% smaller than equivalent JPEGs and 26% smaller than PNGs, without compromising image quality. This means faster page load times and a smoother browsing experience for your visitors.
- Transparency support: WebP supports alpha channel transparency, making it an excellent alternative to PNG for graphics and logos with transparent backgrounds.
- Browser compatibility: WebP is supported by major web browsers, including Chrome, Firefox, and Microsoft Edge. For browsers that do not support WebP, such as Internet Explorer, fallback options can be implemented to ensure a seamless experience for all users.
How to convert to WebP
If you’re using Shopify, you’re in luck! Shopify automatically serves WebP images to supported browsers and falls back to the original formats for unsupported browsers. However, for websites that don’t support this feature, you’ll need to find a way to convert your existing images to the WebP format.
Remember to always check if your CMS supports WebP – e.g. e-commerce Squarespace still can’t host WebP format. This can have an impact on your SEO rankings since Google is pushing for next-gen images as shown in PageSpeed. For example, some website owners have reported a significant dip in their website performance and SEO rankings just because they weren’t able to adopt WebP yet.
Luckily if your website supports WebP, you don’t need to get lost in a sea of online tools and libraries to convert your images. Tinify now offers a new feature that allows you to convert images using our web interface or automating the process through our API. With Tinify, you can convert WebP, JPEG, and PNG pictures hassle-free. One of the greatest benefits of using Tinify’s image converter is that it not only converts your images but also compresses them, resulting in the smallest possible file size.
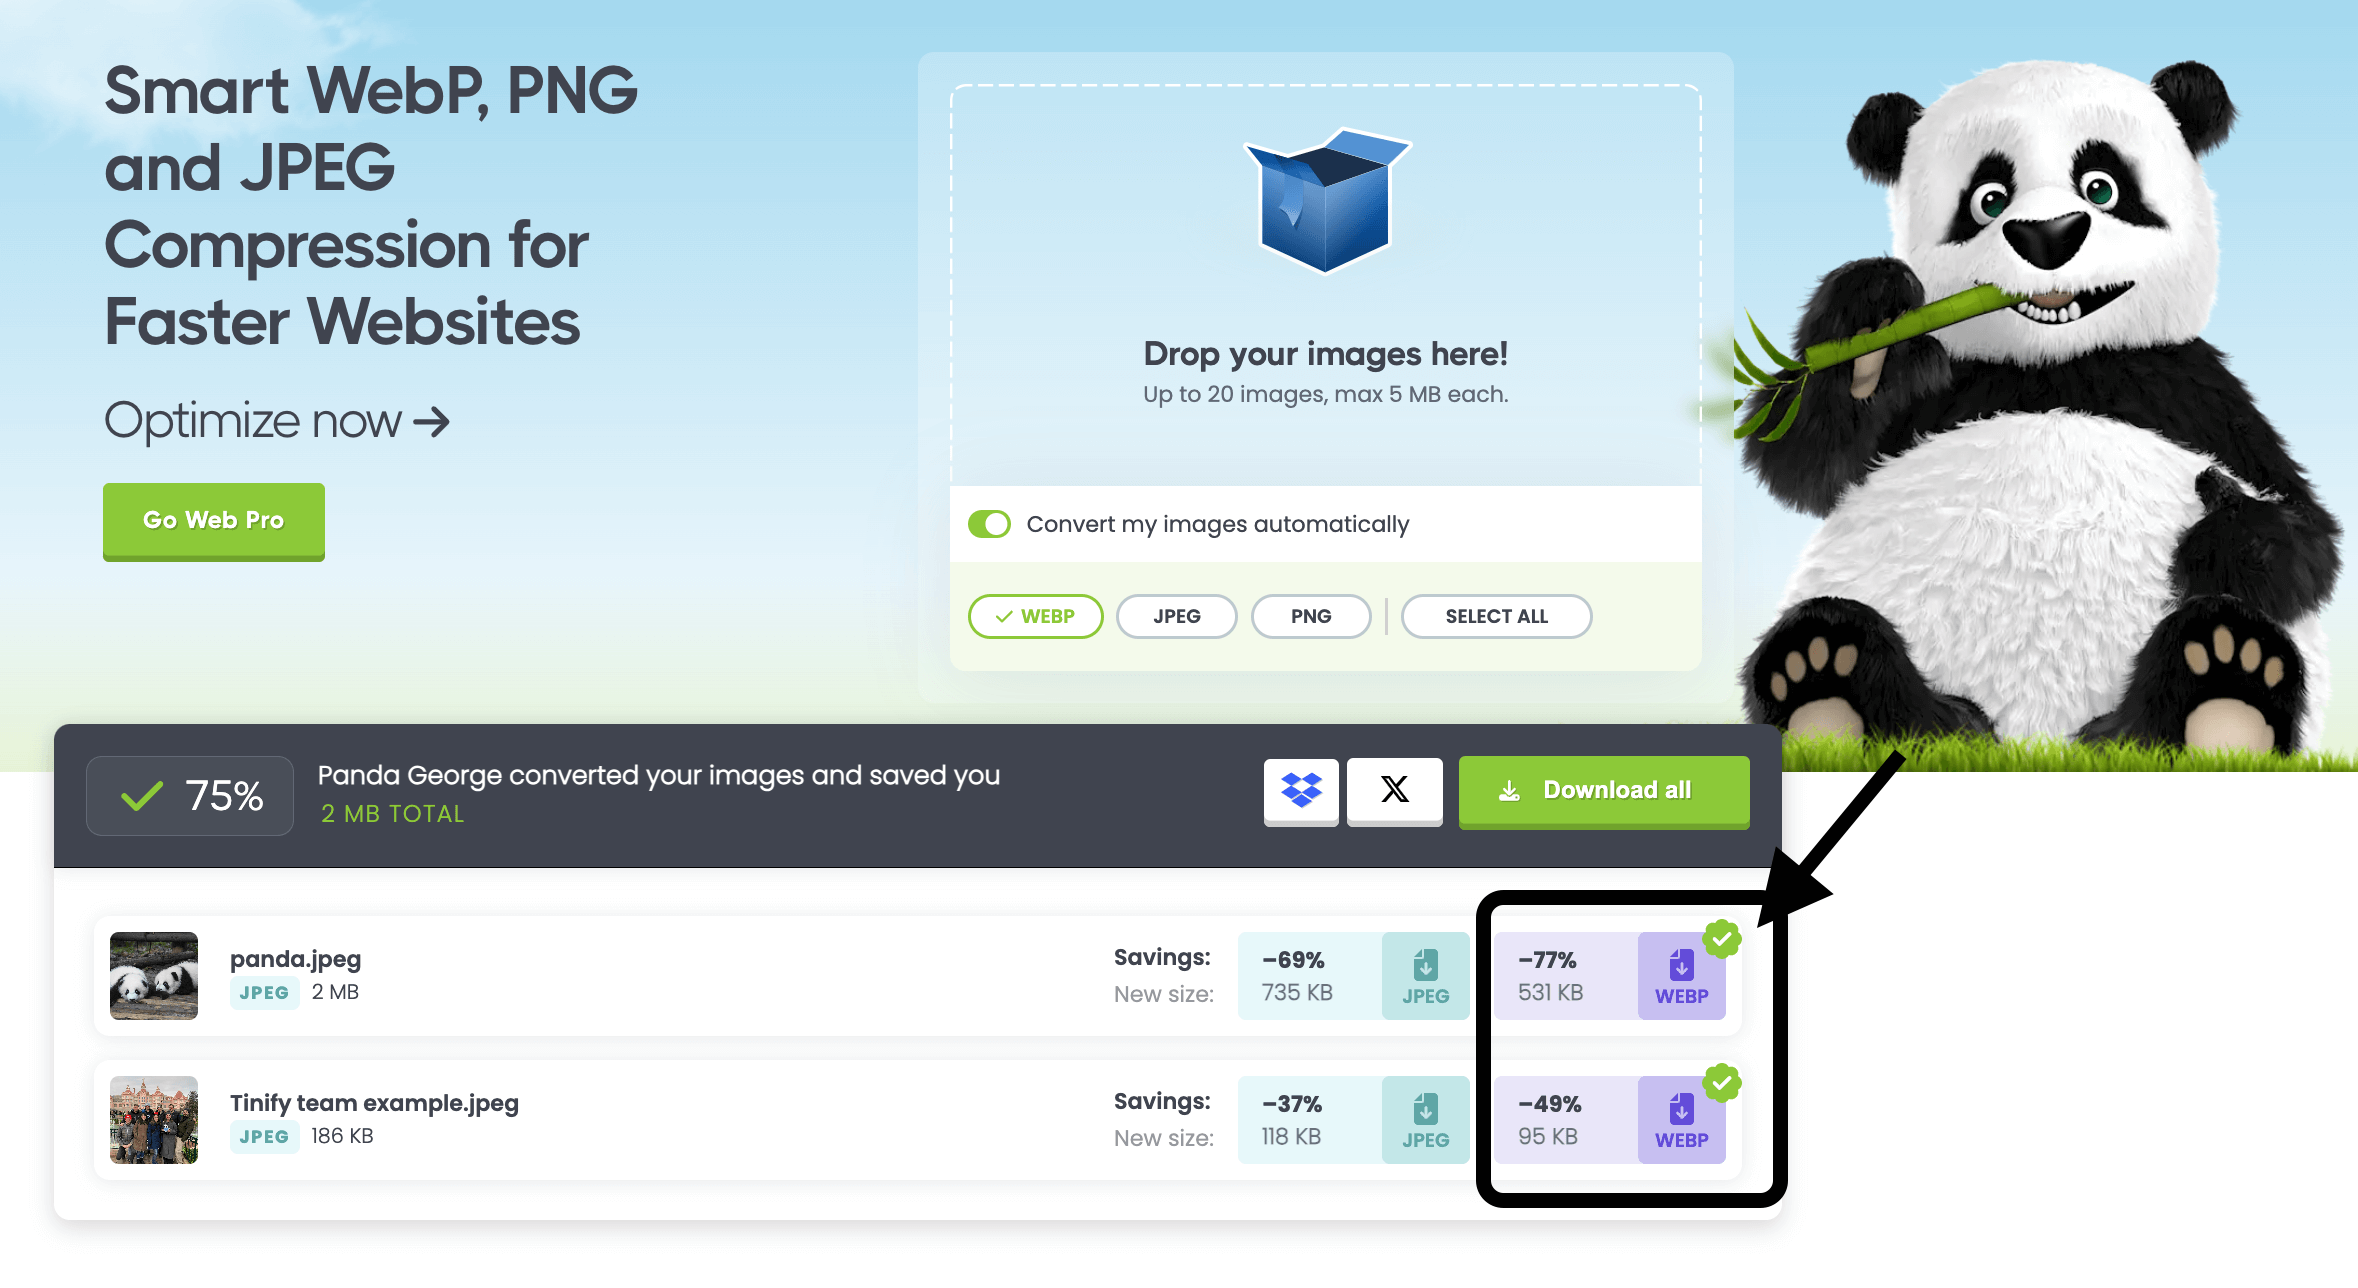
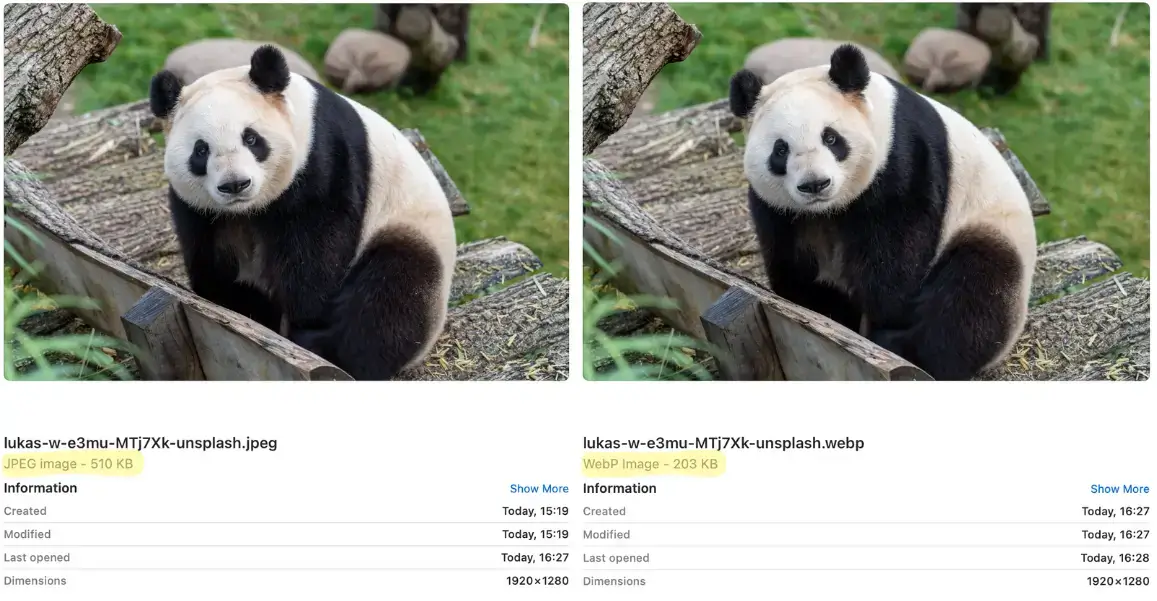
Converting the same JPEG images to WebP resulted in even smaller file sizes without noticeable changes in image quality. Screenshot of tinypng.com
Conclusion
To clarify, Tinify focuses on reducing the file size of images in terms of storage (MB) rather than dimensions (pixels). If you want your images to have a smaller size in terms of megapixels, you can resize them before using Tinify. Resizing your images can further decrease the file size, benefiting your website.
To achieve the best results, follow this order: first, resize your image by reducing its pixels, then compressing it with Tinify. Lastly, consider converting it to WebP and finally upload it to your website.